Rainbow

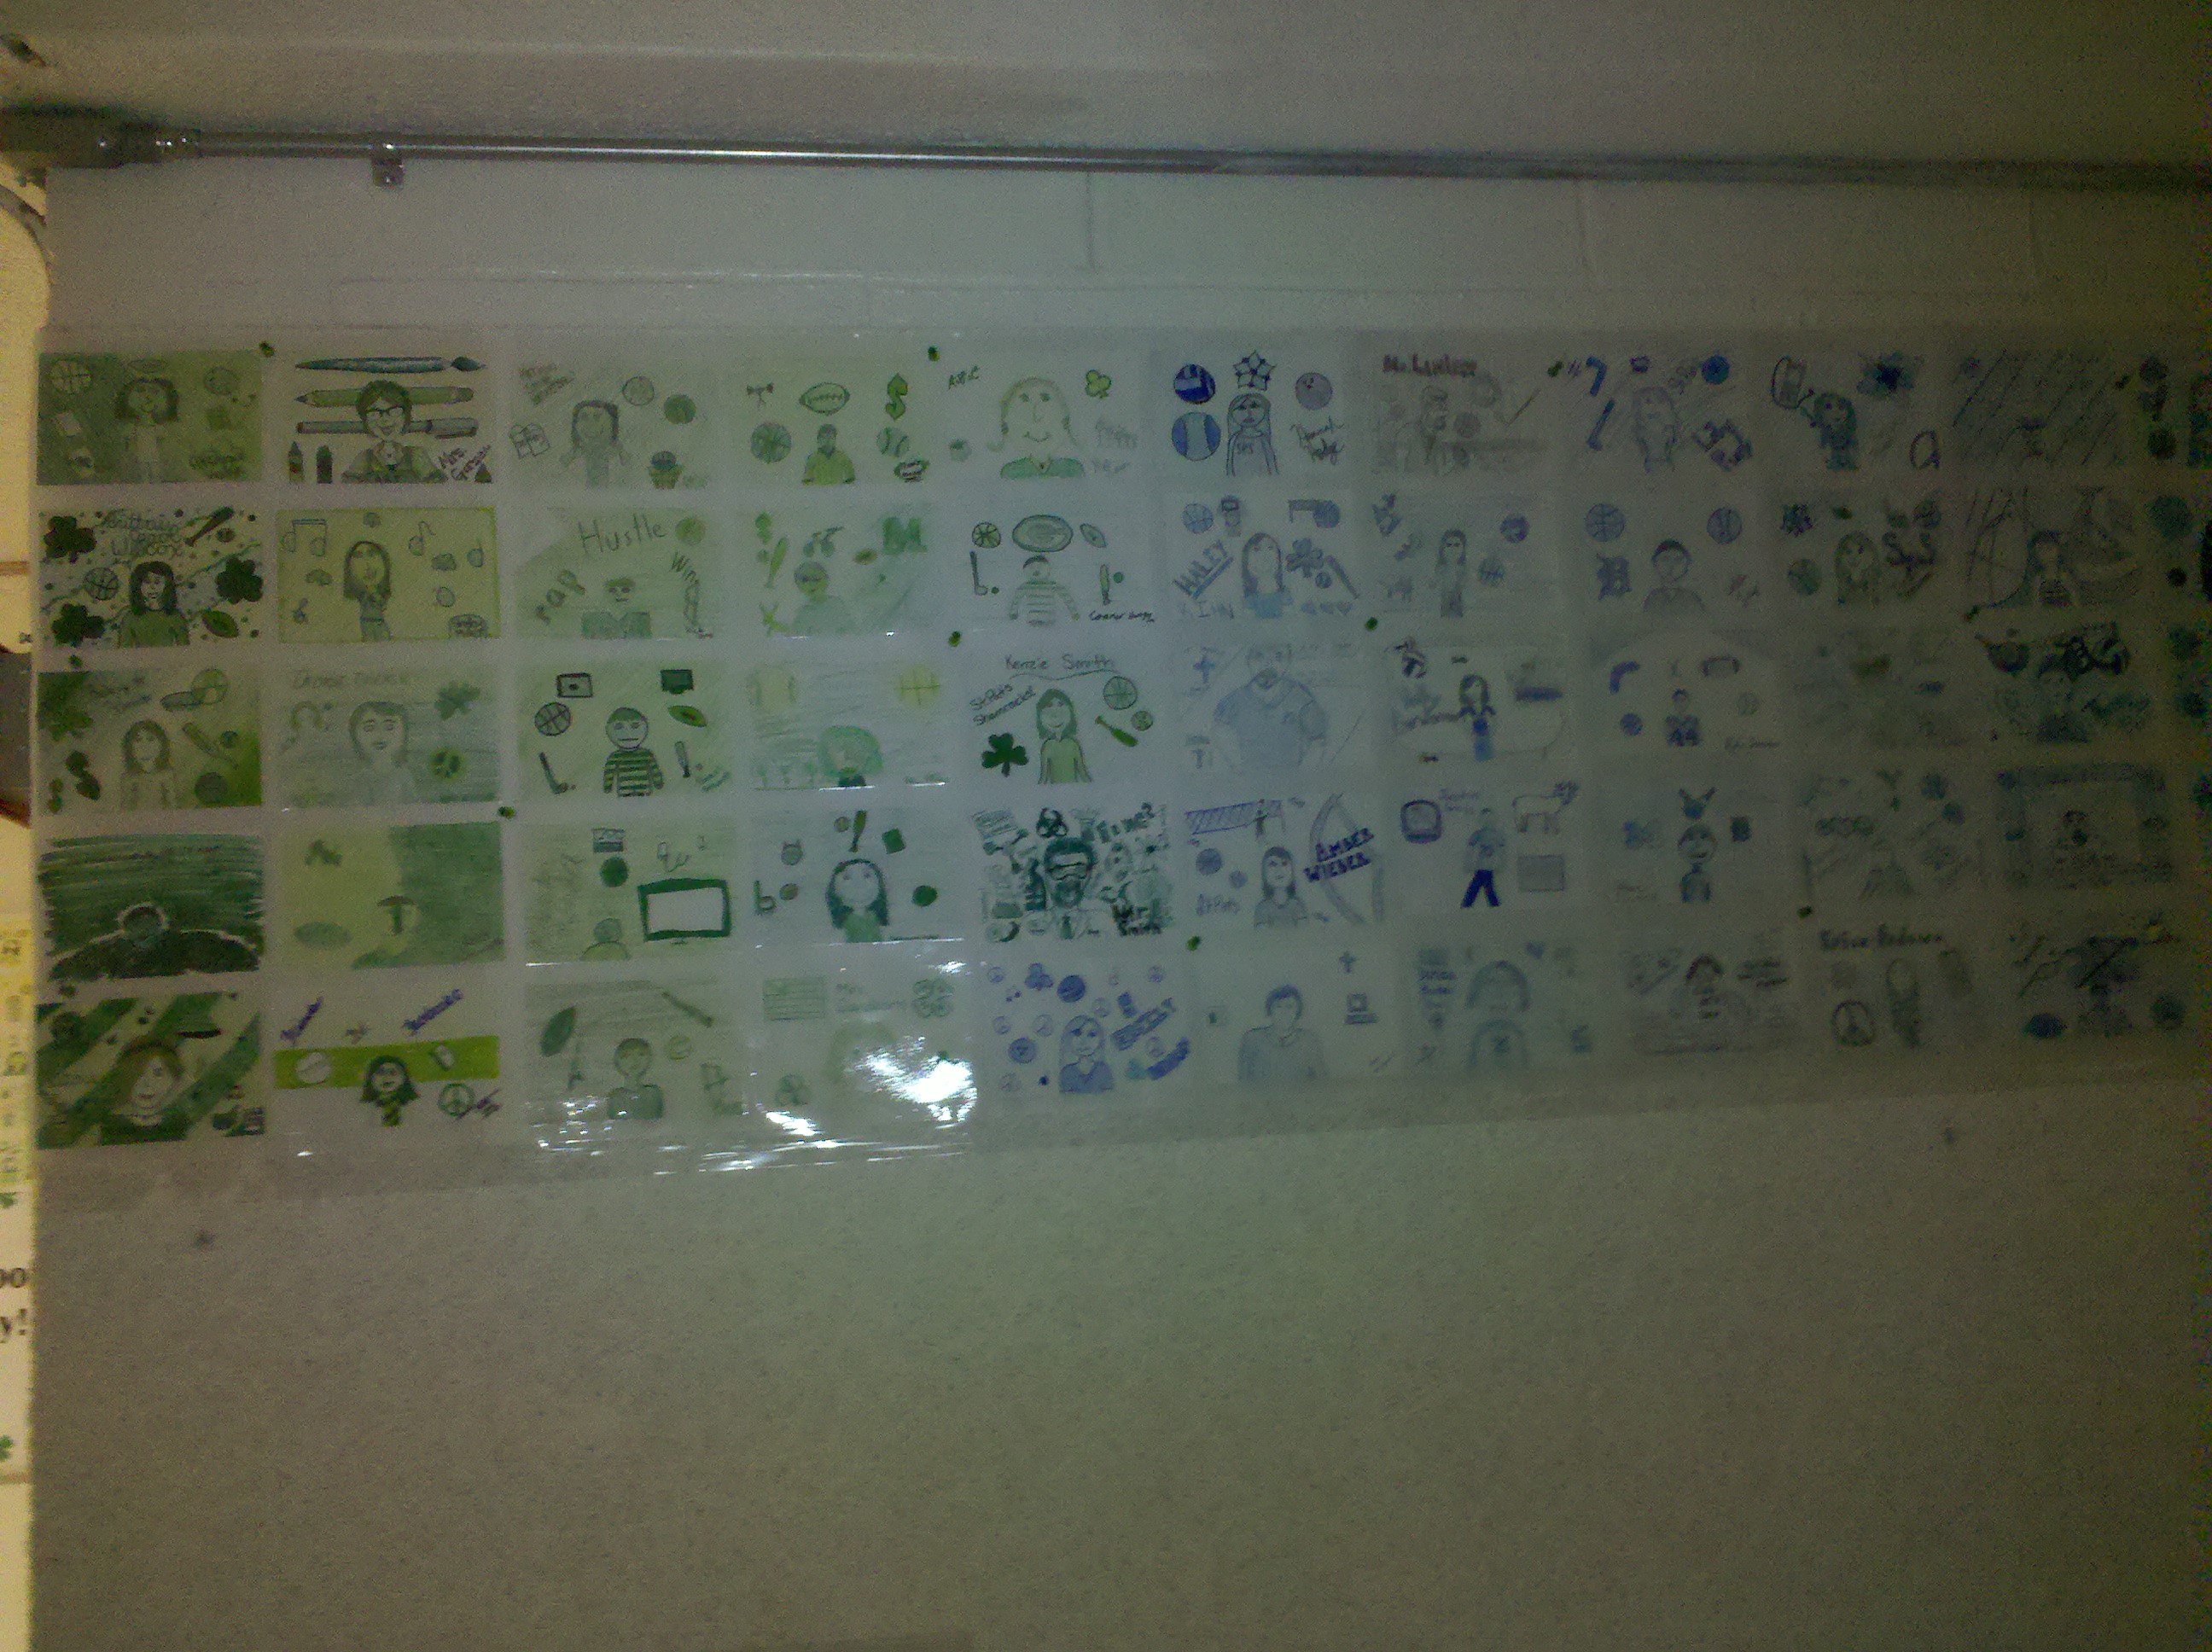
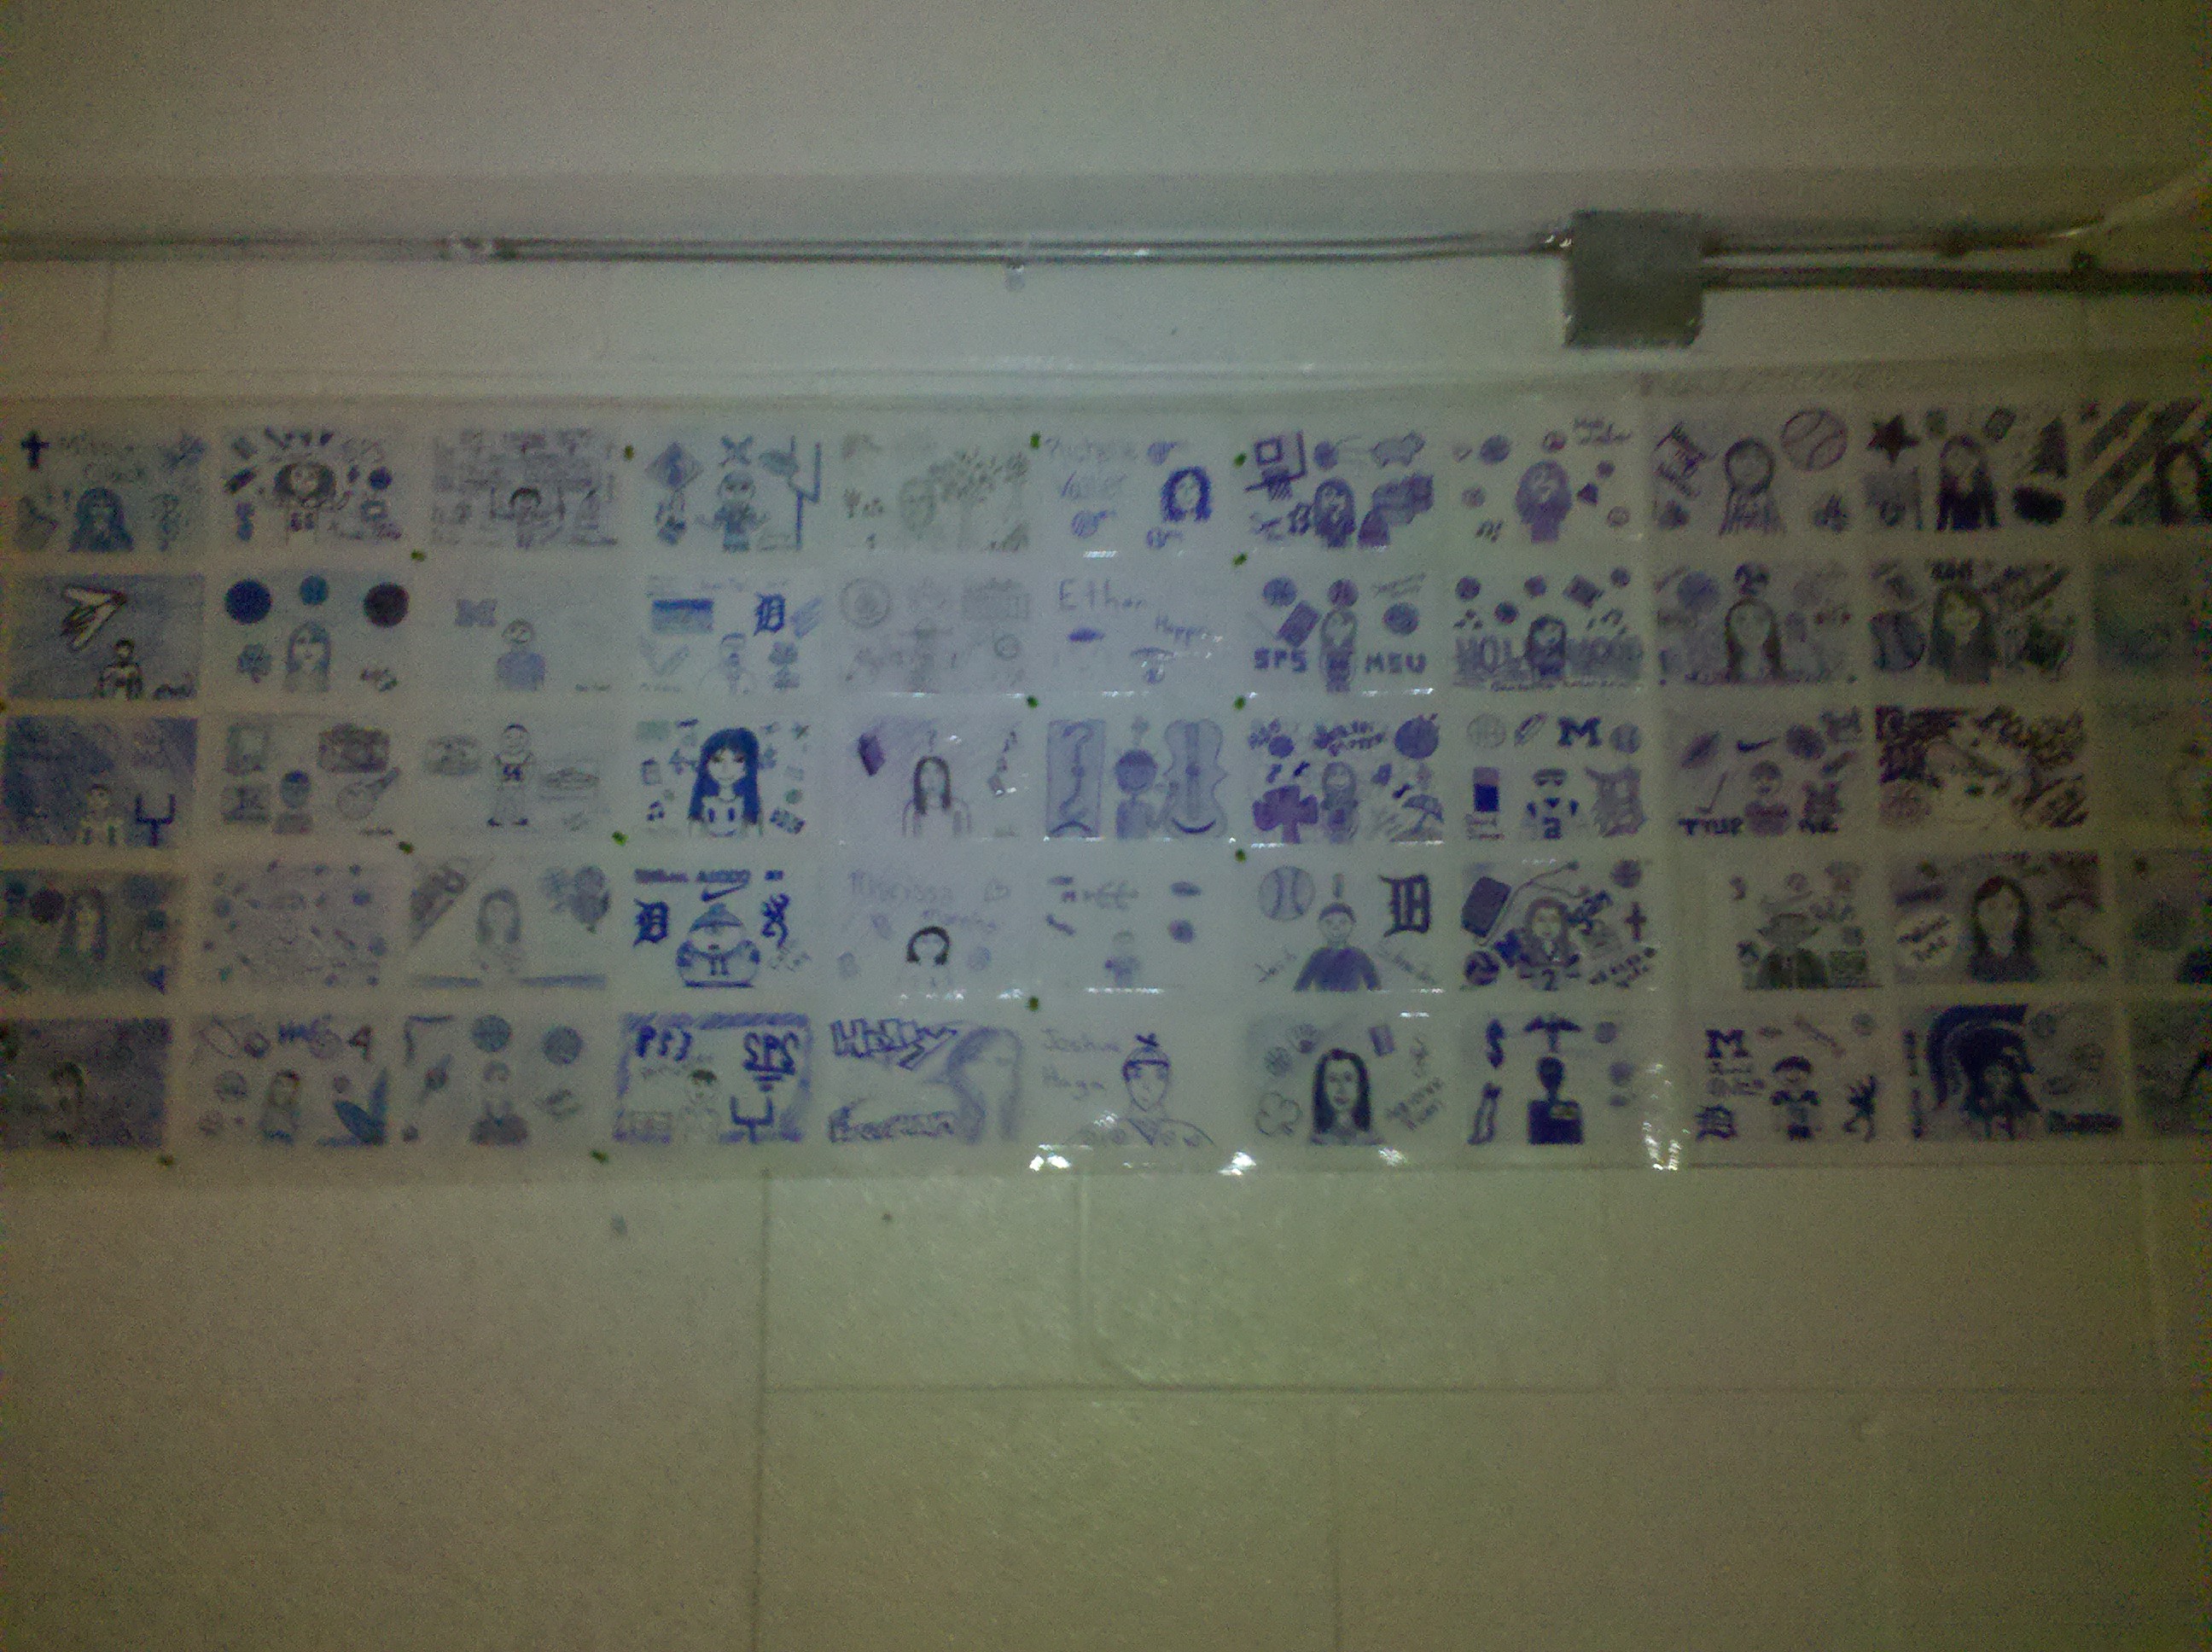
Several years ago I decided that I wanted the entire school to create a project that would hang in an area they could all see it complete. I had seen online, a collaborative assignment where a class created a rainbow by coloring 4×6 cards with their portraits on it, using one color for each card. I decided to go large scale and have every person within the school, including support staff, the teachers, the students, and anyone I could find to fill the space.

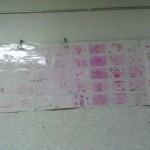
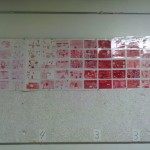
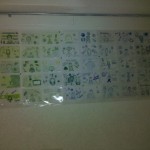
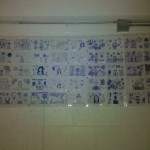
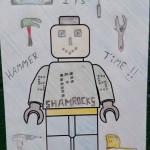
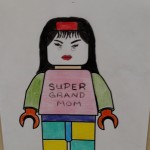
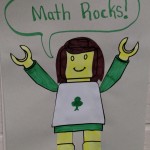
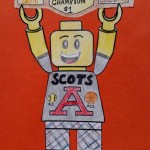
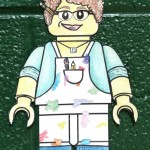
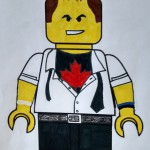
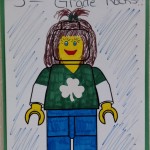
It was a great success. I was able to go over drawing portraits with every class and allowing them to learn facial proportions, including some of the staff who were not as confident in drawing. To help ensure lots of color, I also had the students fill the cards with their interests, their hobbies, and things that they enjoy with the color. I went through the classes for that year and decided which class/grade used which color. I started with the DK and K classes and gave them pink, then moved up through the senior class by giving them purple. I didn’t specifically assign the staff a color, I just let them choose their own and I filled them in wherever I could. It worked out well.

IMG_20100930_181307

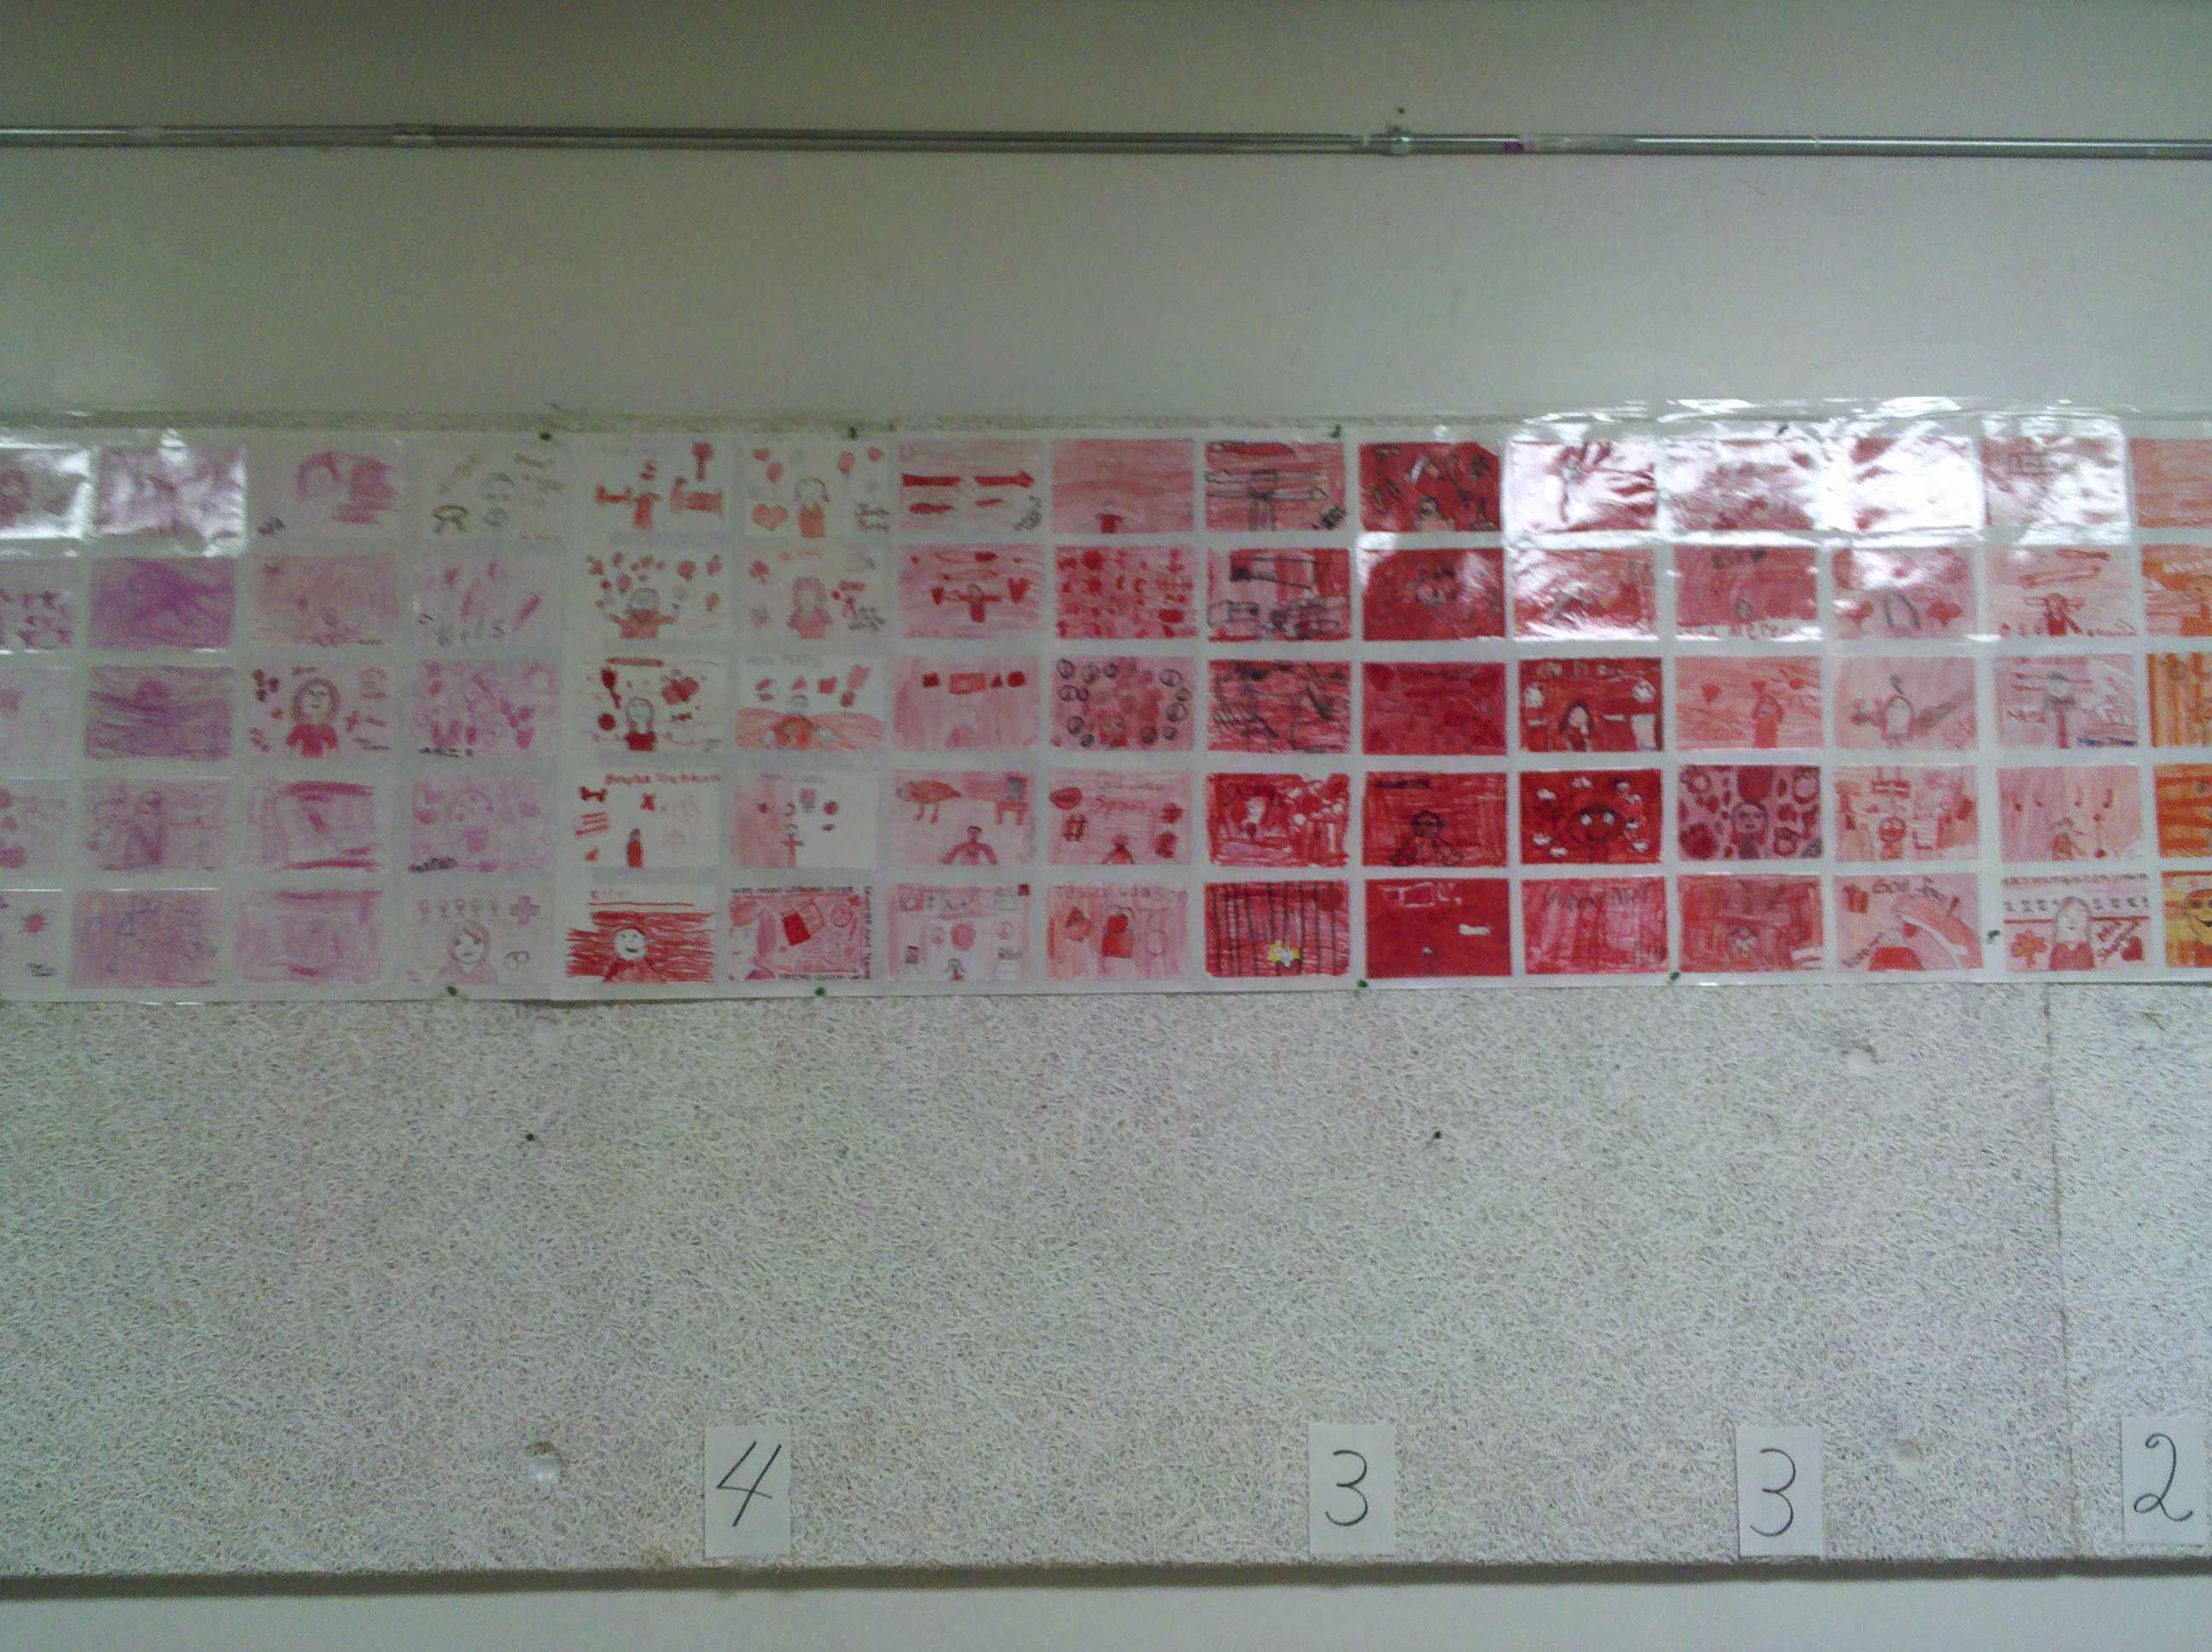
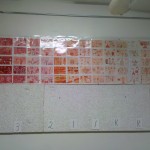
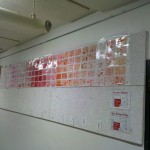
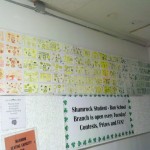
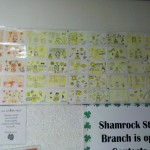
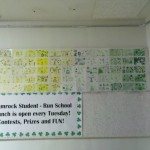
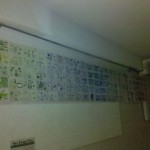
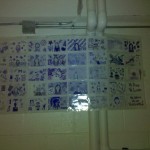
Once I collected all of the drawings from each of the students I had to go through the colors and lay them out in a fashion that would seamlessly transition through the rainbow and fill the grid that I planned out. To complete the project I taped all of the pictures on a large roll of paper. Once I had figured out where they all fit in and transitioned the colors as smoothly as possible, I ran the entire thing into the lamination machine to ensure they stayed together. It was a long process and I had only one unfortunate case where when the paper was going through the machine one of the pictures folded and was laminated that way.

IMG_20100930_181426

The rainbow hung in the school cafeteria for several years, parts of it would fall from time to time and I would have to re-hangĀ  it until it had run its course. To keep the hard work of the students and staff alive, once I removed the entire rainbow from its hanging place, I cut out each of the images that were created and compiled them into a binder that is accessible to everyone.

IMG_20100930_181440It is so fun to have students go through the binder and reminisce about the project. Students of all ages have looked through to see their drawings as well as their friends and siblings. It is a great community to challenge creatively!

Teacher Projects: Legos

For the past couple years I have decided that I wanted the other teachers in my school to take part in spreading art throughout the building as well as getting the students connected to it in other areas.

Last year I had the teachers decorate a Dalmatian puppy in order to spread the 101 Dalmatians throughout the school. This school year I am doing video games and I decided to have the teachers create themselves as Lego characters. I figured there are several different Lego video games out with various characters and they are pretty recognizable for students and staff alike so it was going to be a fun project for all!

Many of the teachers have taken part in the fun activity and displayed their creations outside of their classrooms so the students can see their work! I love to get the teachers creating new and exciting things as well as the students. Here are a few of their characters:

Art Supplies

With the wide range of student ages that I teach, I found ways to divide my supplies to give each level their own space and responsibilities.

I have given the elementary students kits that have markers, pencils, and colored pencils in them which match the colored table they sit at. This gives them a feeling of connection to the room and the opportunity to get their own supplies but make it easier for them to accomplish.

Each cubby in my kits system is numbered in a specific color that matches the kit that is accompanied with it. The colors coincide with the colors of my tables, which are wrapped in kraft paper to help with basic clean up time. Each table gets two kits, example my red table gets kits number 1 and number 7. I have six tables which are the colors of the rainbow. This system allows the younger students a chance to get their own supplies, help with setup and cleanup, as well as give them their own responsibilities.

DSCN6303 (Medium)While I have the older students supplies separate and in various locations where the elementary are not allowed into, to give them a sense of trust that comes with the older ages. I have labels on everything that is accessible for the students so that they can finds things easily (if they decide to take the time to read them!!!) as well as a way for me to explain where they are located.

DSCN6304 (Medium) DSCN6300 (Medium) IMG_20150831_122543361_HDR (Medium)Each of the students are responsible for getting their supplies out, cleanup, and taking care of the room to ensure that it is ready for the next students, no matter the age. This system has worked very well over the several years that I have perfected it, the students seem connected to the room and feel as though they are apart of the everyday events.

Classroom Layout

Since I began teaching I have been playing around with how my classroom should be setup. My first few years were focused on going through all of the things that were found within the room, trying to understand what the previous teacher had left and how they had organized the room.

Once I found where everything was it became an organizational game making sure everything had a place and was easily accessible for the students. As soon as I figured out all of those things I was moved into a new room.

There were pros and cons to the move. Pros: I was out of the basement (which I was by myself with no other teachers or classrooms), I was given a bit more space, there are windows, and I had more control on how the room was laid out. Cons: There was a bunch of packing to undertake, the room has carpet not linoleum, cabinets were exchanged for closets, and I had to make up how the room was laid out with all of the stuff that was traveling.

IMG_20150831_122611112_HDR (Medium)The new room is fitting me nicely and has given the students more space and better lighting for various projects. I decided when I was looking over all of the parts to my room that would be traveling, that I wanted to have an area for me and my older students to be able to use, but not the younger students to have some control over how things were organized.

I created a fake wall by taking my shelving units and backing them up against one another so that I could divide the room in half. In the back half is all of the closets with my extra supplies, my tables for 3D work, my drawers for older student portfolios, and my desk. Each of my closets are labeled with various medium so if the older students need to get extra supplies they know where to find them.

IMG_20150831_122543361_HDR (Medium)

In the front half of the room is the student tables, shelving for sketchbooks and various supplies, my projector and document camera, and student computers. The elementary supplies are in the cubbies and are labeled with numbers and colors so they know which ones they need to get for each of the tables. All of the students can use the computers, but they are normally their for the older students if they are researching a topic.

IMG_20150831_122618687_HDR (Medium)IMG_20150831_122527464_HDR (Medium) The island in the center of my classroom is a new addition this school year. The maintenance department was able to mount my projector to the ceiling over the summer which made me think of where I wanted to setup my document camera. The center of the room was a natural place for it so I moved an extra cabinet between my tables for that purpose. It has been working out wonderfully!

My classroom is constantly changing, since I am continually trying to see where things will work best and how the students work with the room. Overall though the students have a great understanding of how things work and are labeled! It leads to creative students and classes that run smoothly!

Art Room Themes

For the past few school years I have been incorporating some sort of theme across my classroom decorations.
My first year doing it I made a jungle theme: my tables were wrapped in green paper, the maintenance department gave me giant cardboard tubes that were turned into palm trees, I had elephants, monkeys, and vines all across my room.

DSCN4816
My second year I was pregnant and didn’t want too elaborate of decorations so I stuck with a rainbow theme and incorporated paint samples that I received from a closing hardware store in all of my stuff.

DSCN6316 (Small)
The big theme that seemed to stick with my students and is still asked about is the Disney theme that I did. Each month the characters on my white board changed to someone familiar for all ages, I had Disney style font for my labels throughout the room, my hall boards were decorated with Elsa, Tiana, and Mickey, I turned the windows on my classroom doors into recognizable images one was the stained glass rose from Beauty and the Beast the other was the fish tank from Finding Nemo (more pictures to follow).

IMG_20141121_131224_188 IMG_20141121_131251_553
This years theme is Video Games. I felt the Disney theme, though beloved by all, seemed to have a ton of girly stuff so I decided to switch gears and try some games that the boys would be intrigued in (not the violent ones of course, though they want me to add some of that stuff!!!) So far I have not infused my room with too many video game items but enough to get the kids excited! I will let you all know more as I add things to my room!